Week thirteen proved to be a week of cementing ideas. Today, I wanted to focus on the delivery and display of my final work. As suggested by Jo a few weeks back, I am presented my works on MDF. So with that idea, today’s progress began.
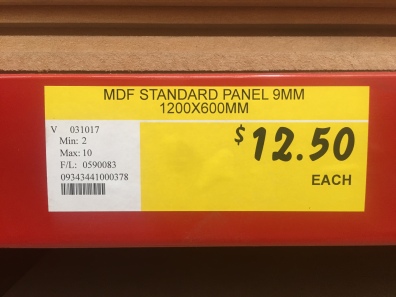
I quickly ran to Bunnings to get some MDF as backing, and with the assistance of a helpful employee cut it up into 130mm x 180mm pieces. This would leave a 1.5mm overhang on each side of the image, as I printed 5 x 7 inch photographs (127mm x 177mm). I wasn’t too sure about how the overhang would look, but I figured at this point, it was best to go bigger and make smaller later, than go too small from the get go.

I headed back to the iC with 12 pieces of cut wood, the wood scraps, sponge brushes and some Mod Podge which I picked up from Spotlight on the way.
I grabbed one of the photos I printed off a couple of weeks ago and spaced that out on the piece of wood. I really liked how the wood gave the photograph this new dimension, it felt more lively and eye grabbing. The overhang was quite prominent, which I originally didn’t picture, but Steph made the suggestion of painting it black to compliment the theme a little more. I thought this was a great idea as it would ease the jarring feeling that I felt it portrayed being wooden. Although I did like Steph’s idea, I began to think there was something more I could do with the paint rather than just paint them all black. This bought up the idea of a gradient. Going from light grey to dark grey the wooden backings would get dark as the line formation of photographs continues. I feel this would entice the viewer to continue through the line, whilst adding a story line to it, making each photograph more unique to one before it.
After the first painted piece of wood was almost dry, I painted a thin layer of Mod Podge on the back of the photographs, which were pressed on to the piece of wood to create a strong bond. Once I finished with that I began to play around with some formations. What if it doesn’t need to be in one long line? What if it can be in three? Would that take the affect away? Would that reduce the effect of the gradient? These were all things I wanted to test out, especially as now I will have an iPad in the mix to show my video work on.


The iPad also adds a new element to consider. There were limited video displaying options at the iC, and the only one that was suitable seemed a bit too big for my work.
Although there were ways to make it work, I just didn’t like the idea of having a larger video than photograph. Therefore, I think I will use my own iPad as it matches the smaller size of my photographs, rather than making my photos bigger. This will almost half the size of the screen, going from 15″ to 7.9″, making the video more effective as it won’t take away from the photographs as much.
I played around with a few different formations, but overall, I think it’d be best for my work to go in one line, as the gradient complements that and draws the viewer in. However, now the question is how do I hold these photographs up. I now take on the rest of this week thinking about this. So far, I have thought about having the photographs sit on a shelf, have them floating off the wall using another piece of wood and nails and sticking them straight to the wall. The options are unlimited, and trying to find the best method to enhance my work is proving a complicated process, so this coming week I will test these ideas out, and hopefully one method will reinforce the ideas behind my work.

